No comments on Lawn & Gardening Resources
Yesterday, I went to Raleigh with my Master Gardener class. We went to the soil lab, the insect collection and the disease lab. I learned many useful things.
Seeing the process of the soil lab was fascinating. It takes 2 days to dry down the boxes in big, walk-in ovens that hold over 3,000 samples at the time. When they’re dry, a specific amount is put in a falcon tube and a standard amount of water is added to it. (I didn’t take notes and don’t remember the exact amounts. 500g and qs DH2O to 50 mL maybe?)

There are instruments to check the pH and instruments that measure the various nutrients. They don’t bother measuring nitrogen. It is too ubiquitous in the environment and too easily changed. What you measure this Fall may not be remotely the same next Spring.
Because of the number of steps necessary to complete the analysis, it takes about 2 weeks to get final results. It may be sooner in less busy times. But, don’t depend on that. Give them 2 weeks before you get antsy. Results come via email.
If you order a soil analysis between the end of November and the end of March, it costs $5/box (that’s a $1 increase from last year). From April 1 until around Thanksgiving, it’s free. The exact cutoff has to do with when farmers start clogging up the works in order to get ready for next Spring.
The insect collection is …. vast. They are given samples by collectors AND every one of that crowd brings things home from vacation. They have samples that were collected in the 1800s.
There are 3 ways that insect specimens are stored. Most are pinned. You know, like the Victorians did it. But, tiny ones are stored on microscope slides and soft ones, like larvae, are stored in little bottles of alcohol. Those have to be topped up periodically.
I didn’t take many pictures. But…. Lookit.
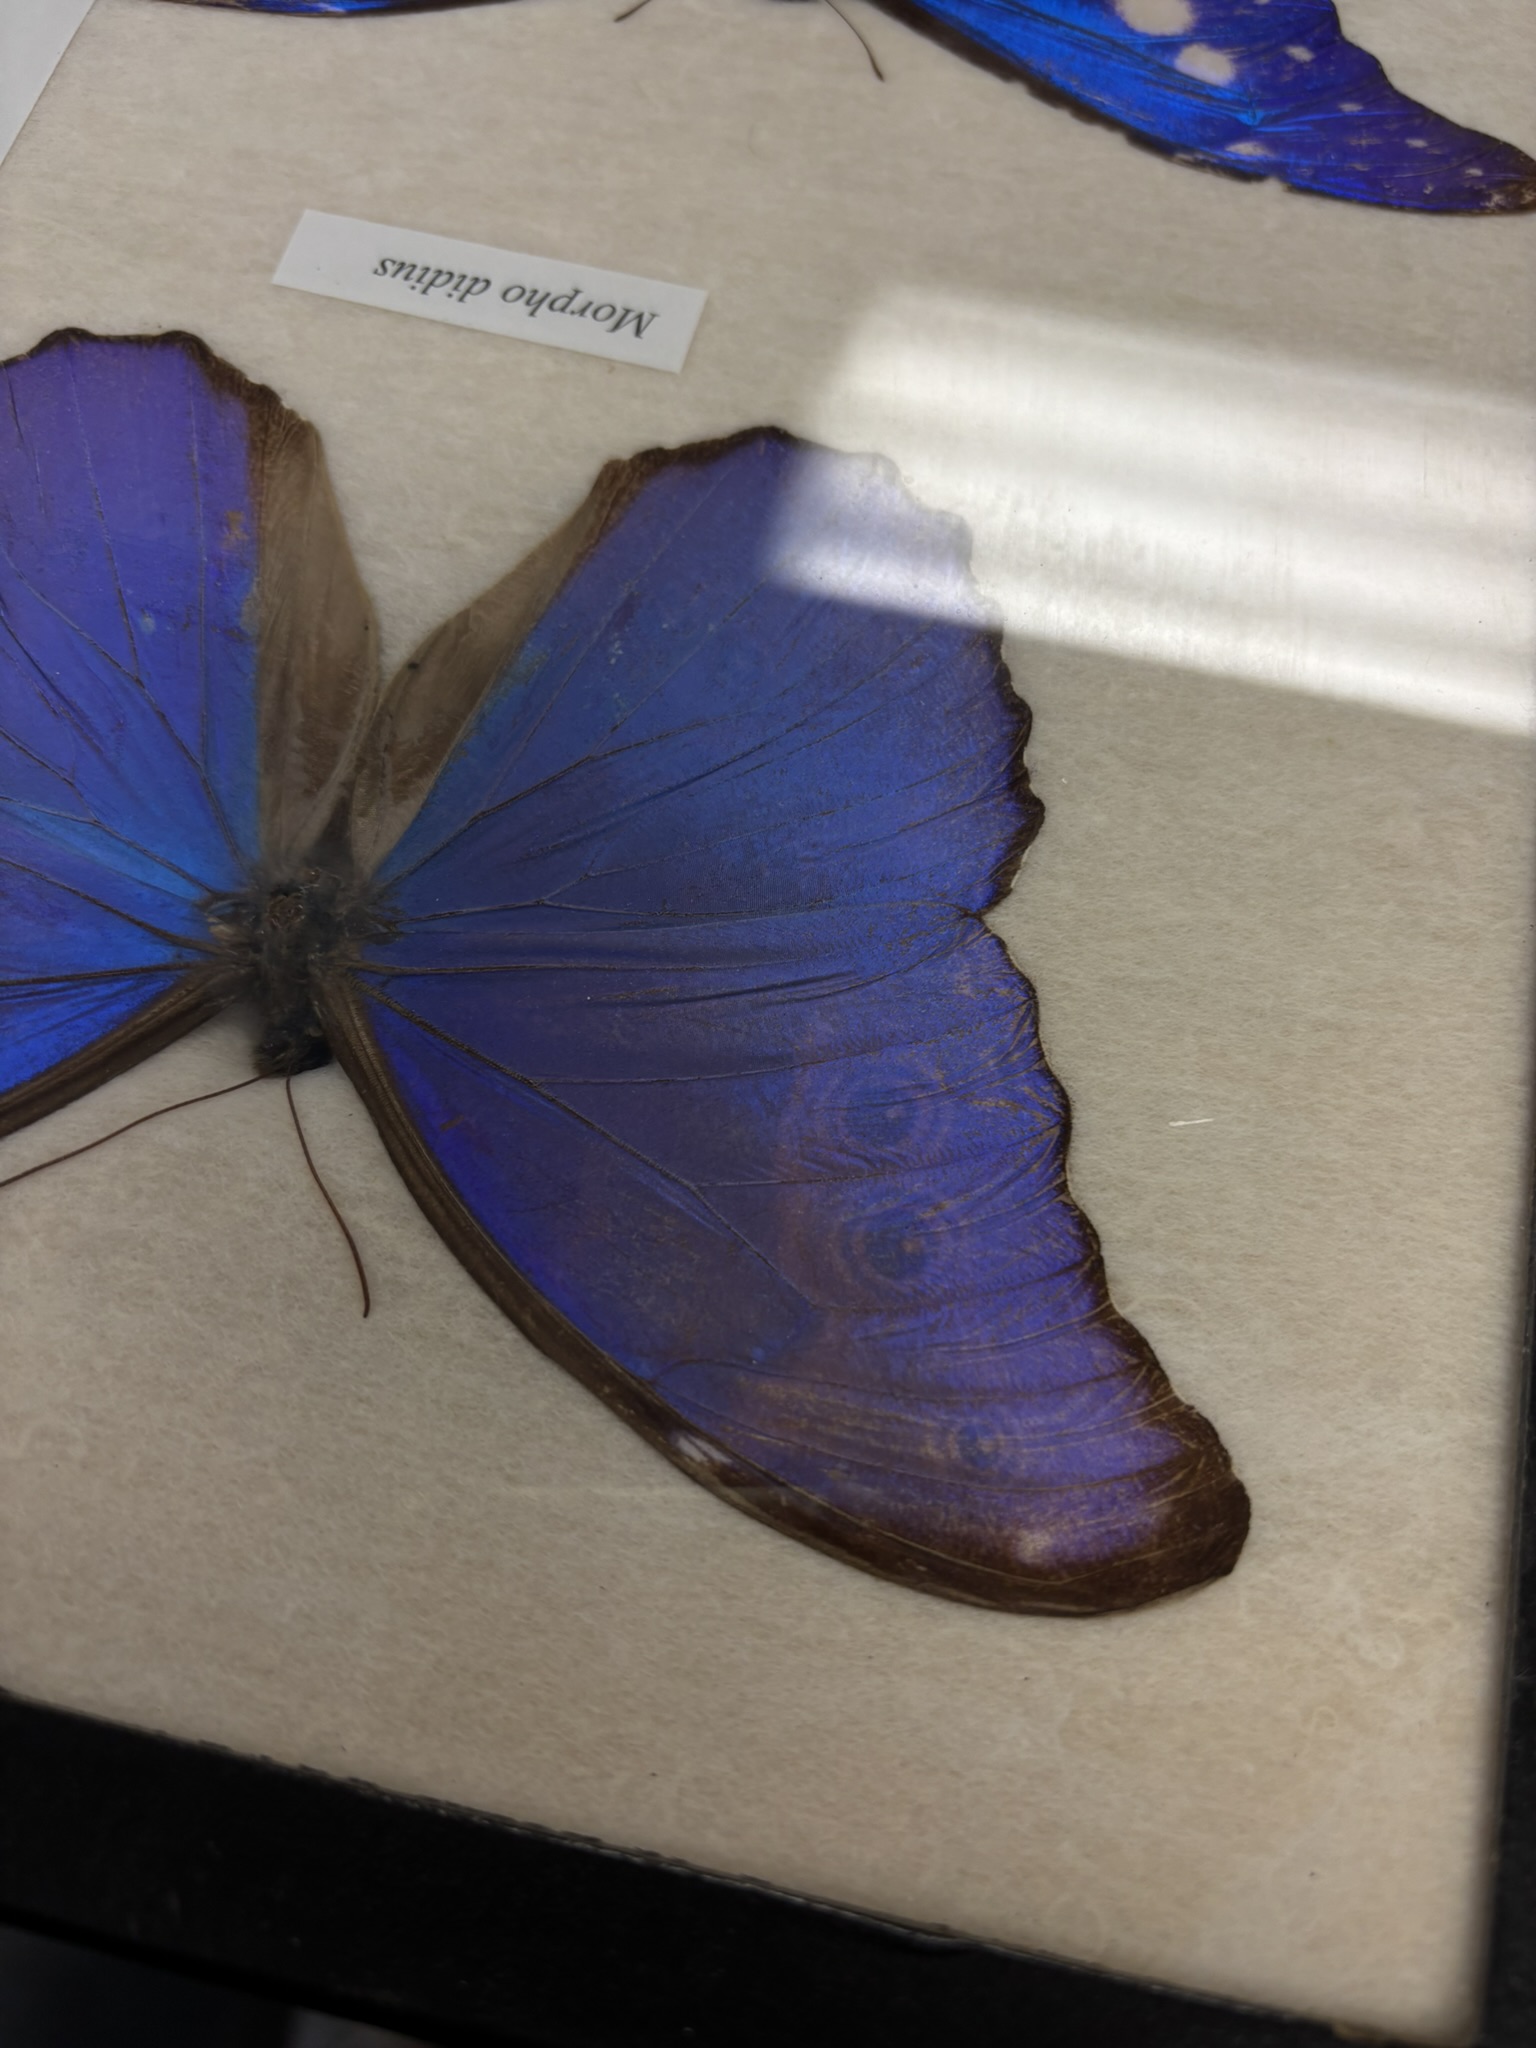
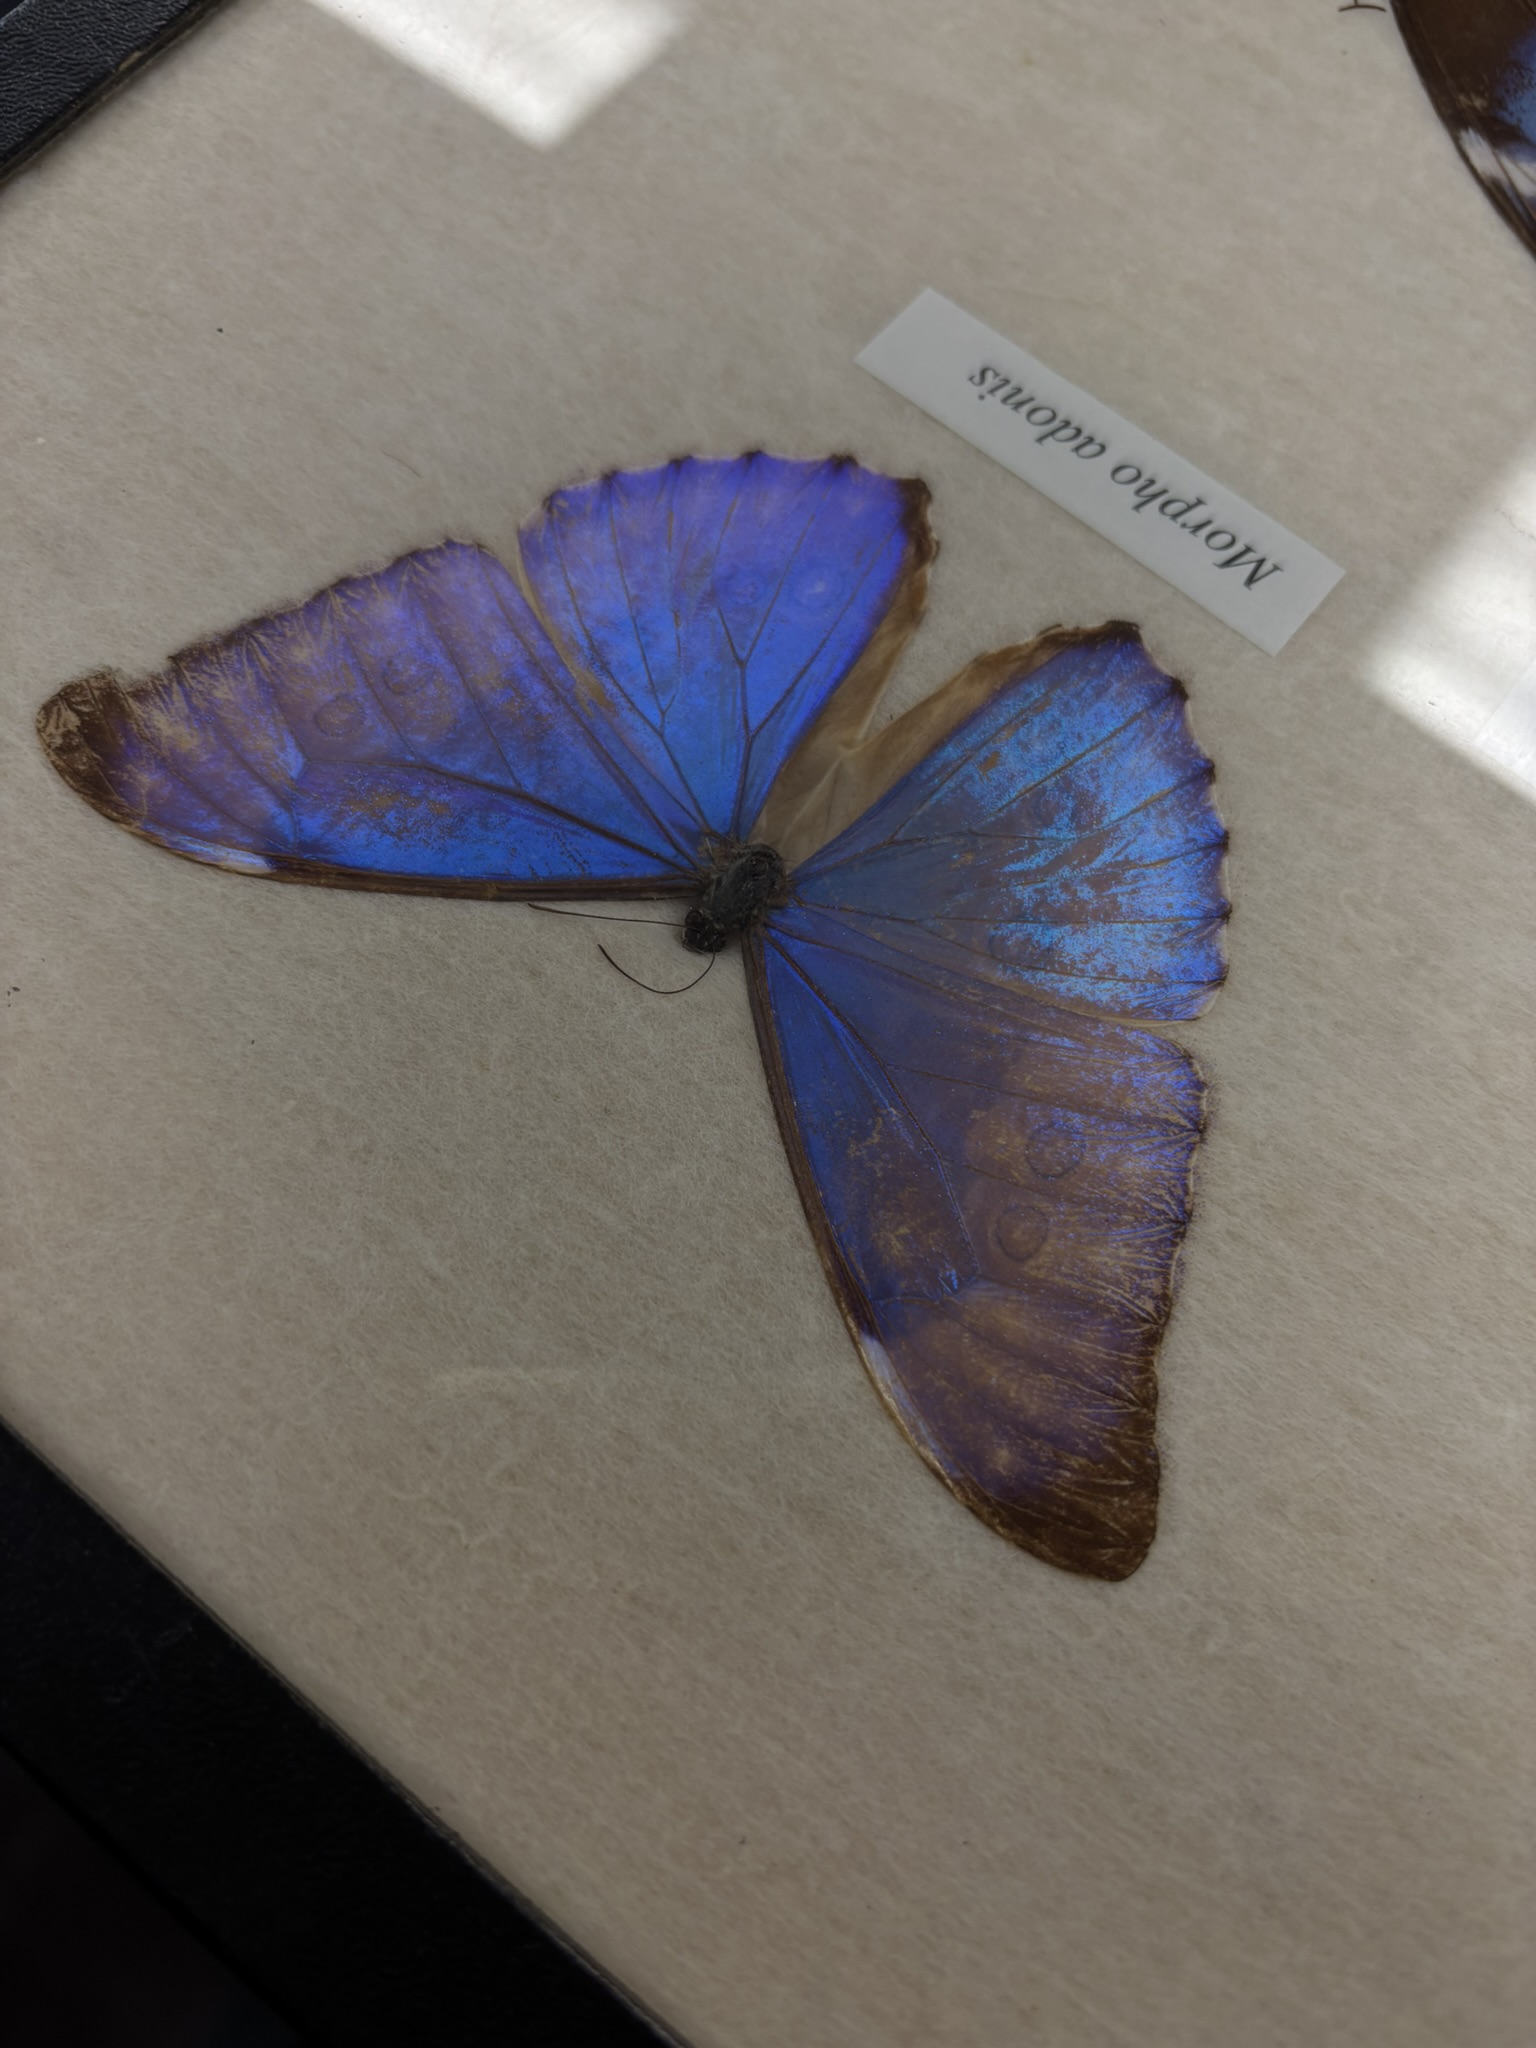
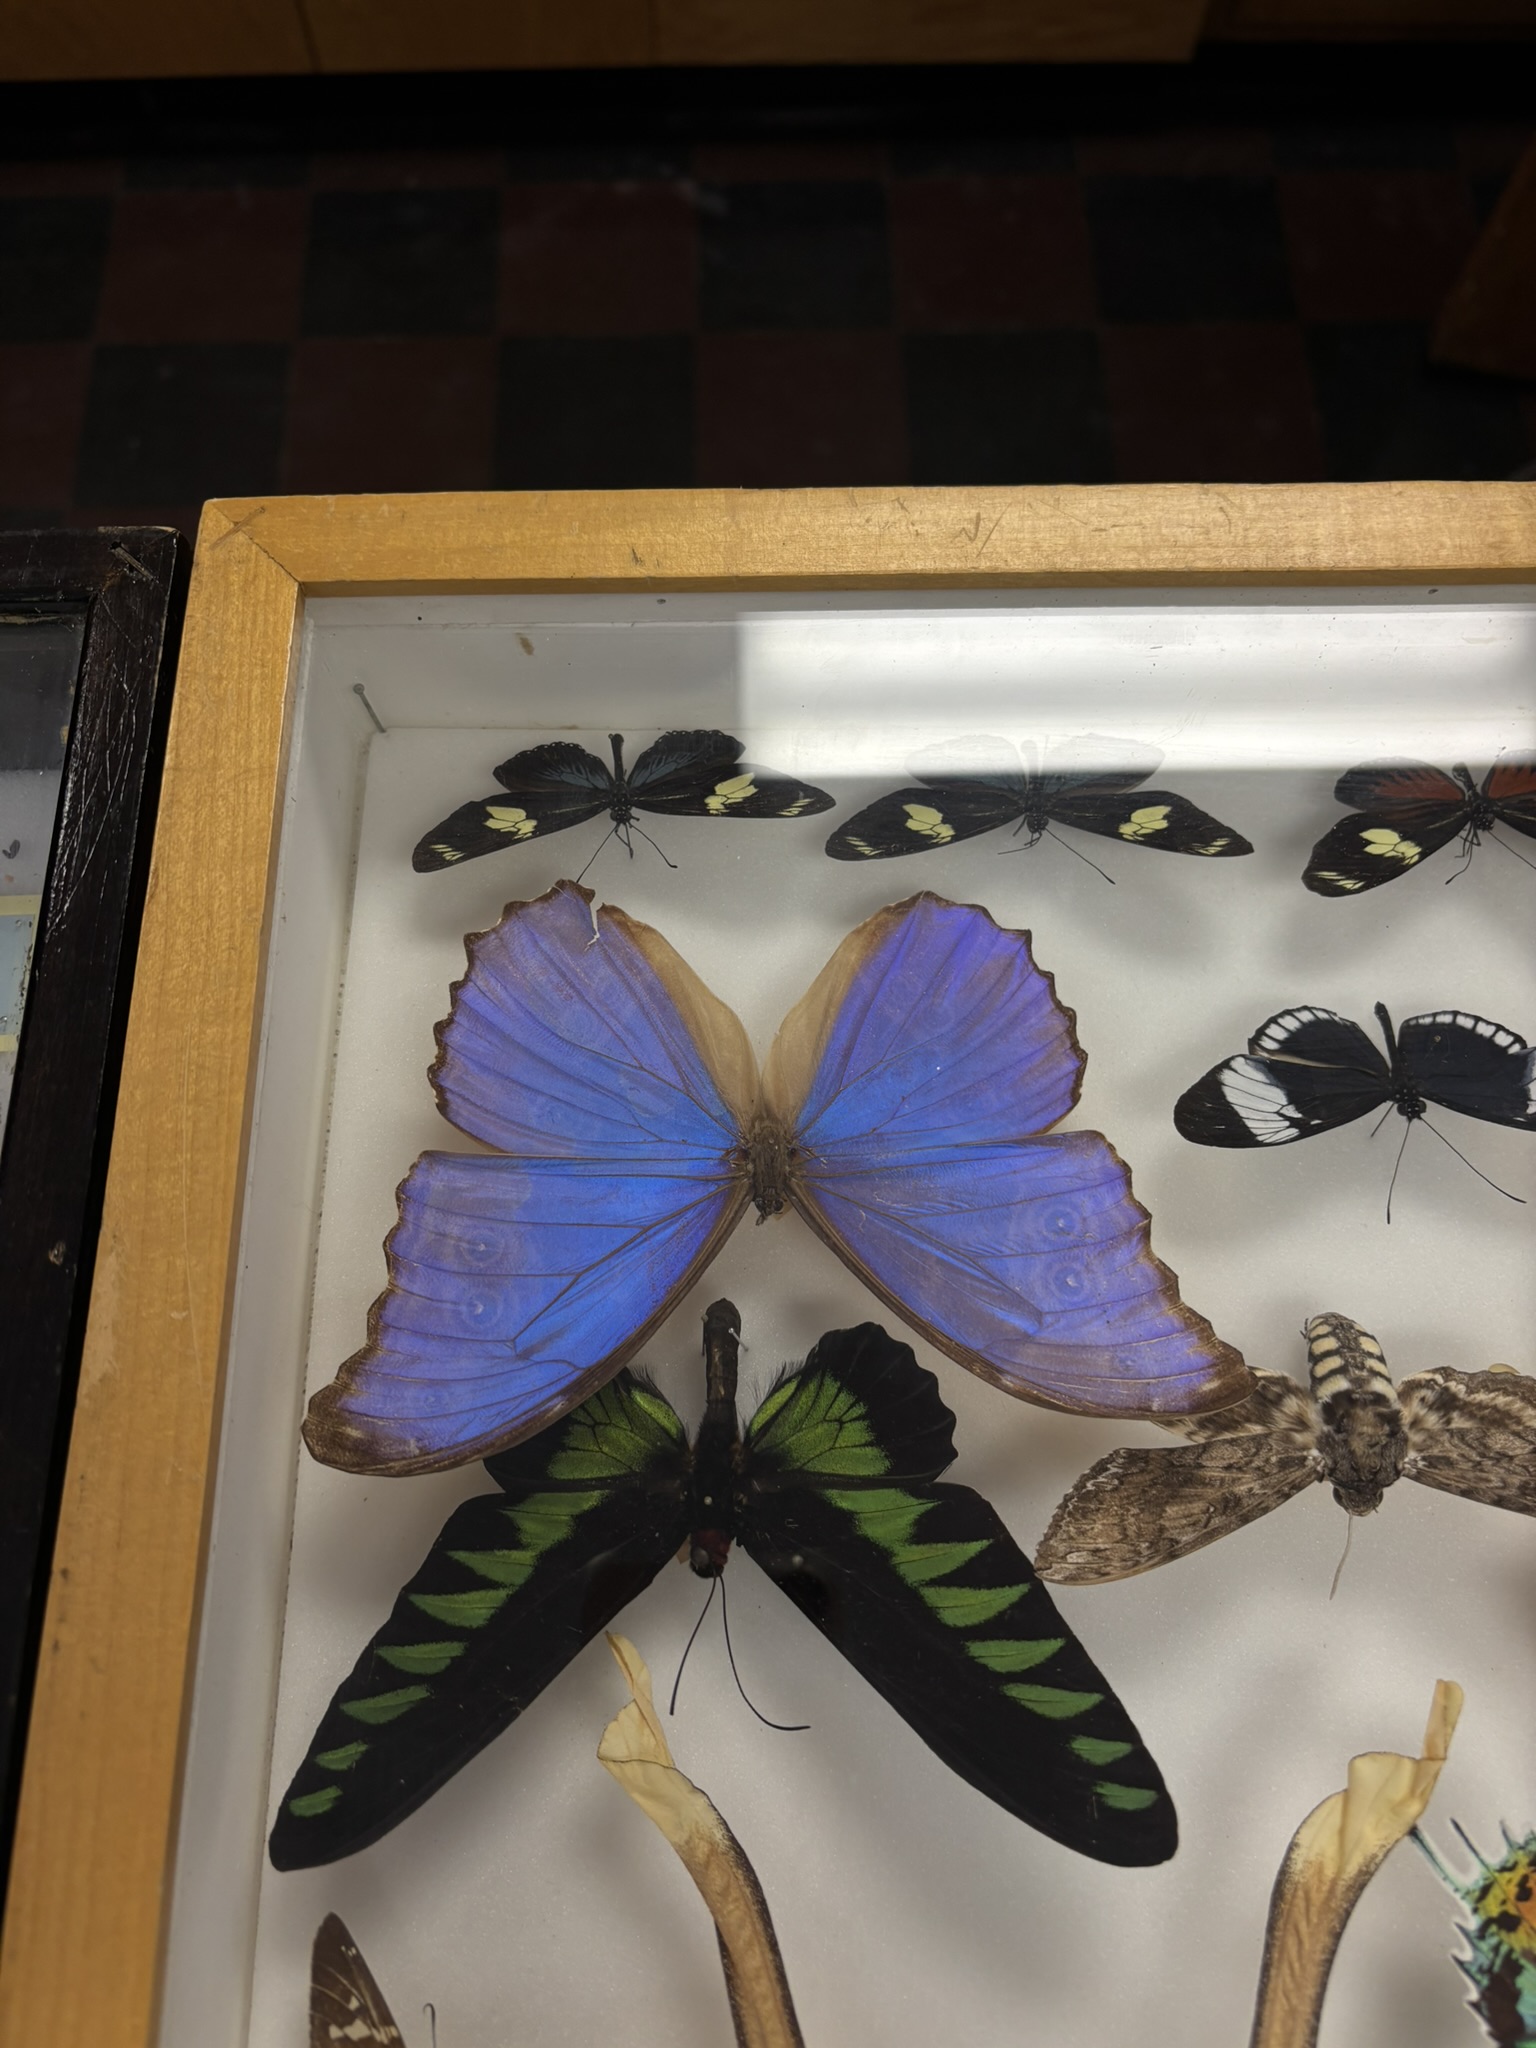
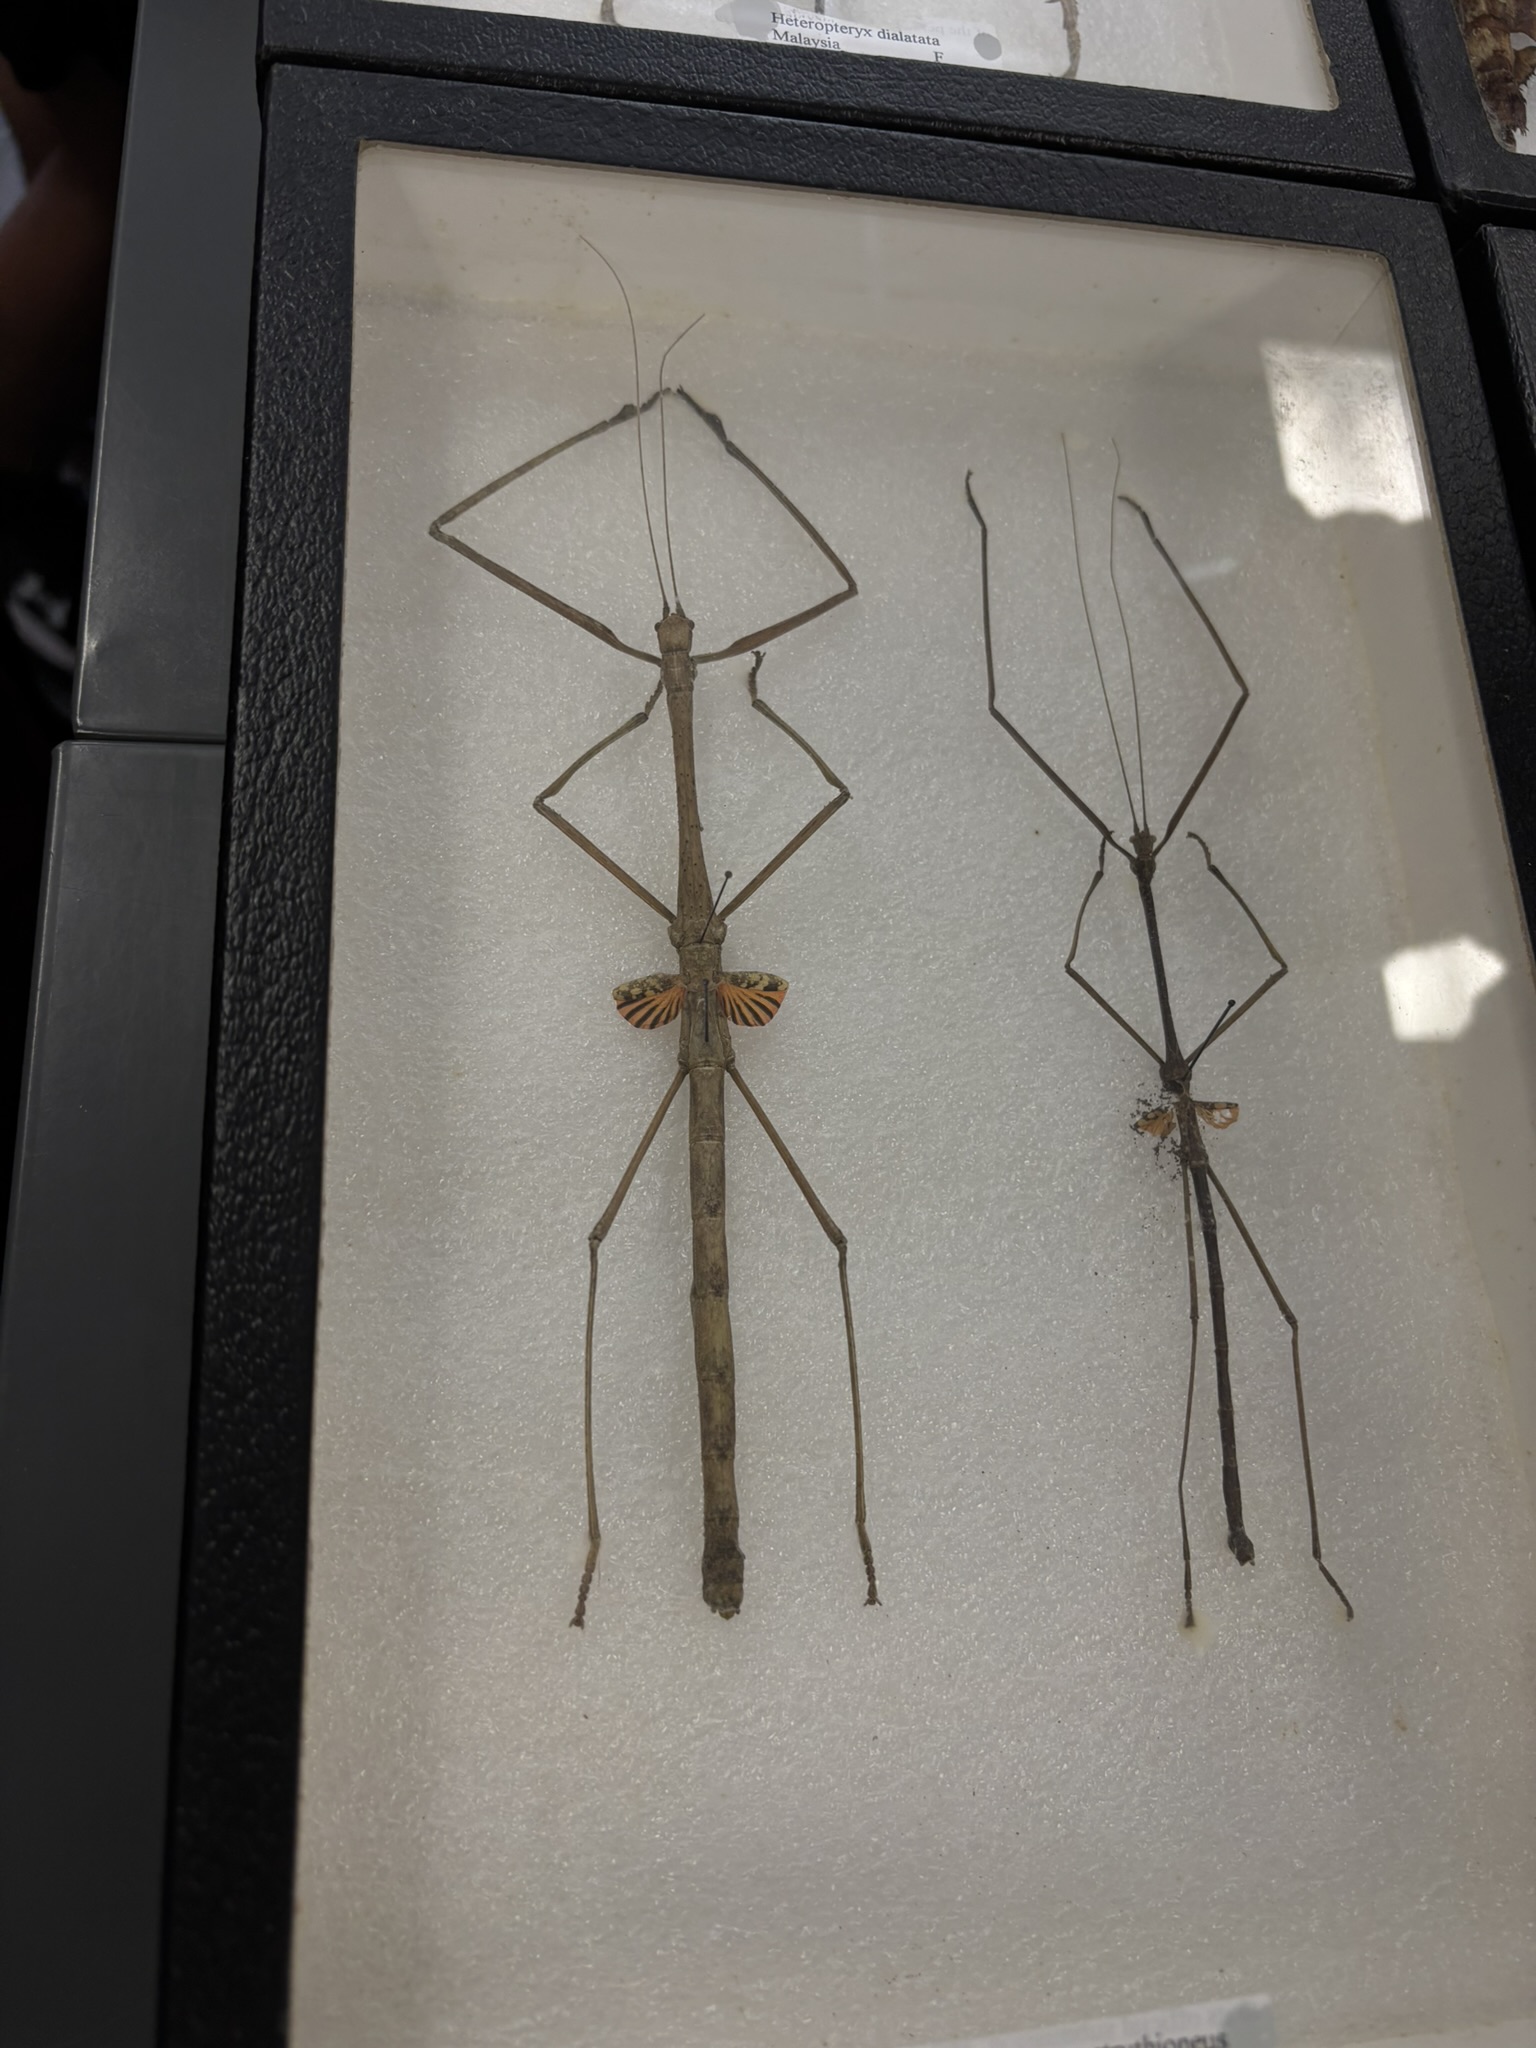
Zoom in!!
Then, we went to the Plant Disease and Insect Clinic.
Whoa.
If you have a plant that is unwell, they have someone who can find the cause for you.
Sending pictures is free. Take lots. Take a broad view so that they can see where it is and what’s around it. Take pictures of the whole plant. Take pictures of the base, even if you don’t think that’s the problem. Take pictures of the back and front of the leaves. Take pictures of the problem area from all angles. If it’s on a branch or twig, scrape off a little of the bark so they can see where it is healthy and where it is dead (that’s the transition area. HA! Look at me learning a term.). Or if it’s not at all.
IF they can’t tell you what’s wrong from all those photos, it will cost you $20 for them to examine the sample you bring or send in. (It may be easier to dieliver it yourself than to ship, depending on where in the state you are.) Bring a piece of the damaged part of the plant and the roots. Dig them, don’t pull them. If you pull, you rip off the rootlets that may have important info. Include the soil around those.
There is always someone available to answer the door and take your specimen from 8-5 during the week. Ring the bell and wait a minute.
It should take about a week to get a report.
When you are filling out the info, give every piece of data that you can think of and there’s even a place for you to tell them what they haven’t asked. Don’t feeling like you’re being excessive. The more details they have, the easier it is for them to figure out your problem.
I was tired of standing at the end and wish I’d had more time. Everyone was excited to tell us about their specialty and I would have been happy to listen longer.
Classes 2 and 3 were virtual. We got an email both Mondays with a study guide attachment and a link to a video of Taylor giving our lecture. We had a week to read, watch and take an open book quiz to prove we had watched the video and understood the chapters. Here are my takeaways from each class.
Week 2 was Botany and it really was a crash course of Botany 101. We learned the parts of plants and got enough detail to have some understanding of why we should do some things. (Like, don’t water your trees at the trunk, that’s not where absorption happens.) And what to call different types of flowers and leaf shapes makes identification easier, which can make knowing how to care of the plant better. There are many useful diagrams in the handbook.
Week 3 was Soil, Composting and Vermicomposting.
The primary information in the soil section was soil composition and how to collect samples for testing. Short form: Take several slices from each area you need to have checked (lawn, flowerbed, veggie garden, etc.), mix the slices and send some of the mixture in a box with no tape and no baggy inside to Raleigh. The top is going to be ripped off and the sample dried before testing.
You can pick up boxes at your county Extension Service office. It costs $5/box until April and it’s free through summer and Fall. Do one box per area of your yard no more often than every 2 or 3 years.Commercial kits are worthless and cost more.
At my house, we have been doing a kind of combination of hot and cold composting in 2 large trash cans. I learned that we need to stir it more often. And we need to water it. That had never occured to me. But, if you think about it, it does make sense that the organisms that are turning stuff into soil won’t like being dried out.
I have not tried vermicomposting. There is a specific variety of earthworn used for that. Well… Seven of the 6000 species worldwide are particularly good for it and, of those 7, Eisenia fetida (common name: red wiggler) is the favorite. You put in 1 pound (approximately 1000 worms) per square foot of surface area to get started. Frankly, it looked like more effort than I want to put into creating compost.
Week 4 was Pruning Ornamentals. There was no reading. Taylor brought in a couple of shrubs and a tree that he worked on in the auditorium before we went aoutside to practice what he had been telling us.
Generally, now is the time to prune your ornamentals. If you have something that is Spring blooming, wait until it has bloomed and do it right after it has finished. If you have something that blooms multiple seasons, you just have to pick the one you’re willing to sacrifice.
Water shoots can come off any time.
Dead, dying or diseased branches should come off anytime, too. Don’t let that linger.
Clean your clippers or loppers with 70% isopropyl alcohol between cuts if you are managing a diseased specimen. If you are pruning for other reasons clean between genuses (roses to gardenias) and after every tree if you are pruning fruit.
Waiting until a tree or shrub has finished leafing out (the leaves are all full and flat) means you’ll get less new growth. It you want it bushy, do it while it’s still pushing out the new stuff.
Cut at a 45º angle above a node with more bark on the top so water doesn’t puddle on the cut. If you cut down to the node, you’ll get a weak branch.
If you have an evergreen that needs controlling, for instance, one that’s encroaching on your driveway, if you cut the limbs back to the trunk, they will not grow back. If you simply trim them back, they will. So how you cut depends on the effect you want.
If you are shaping a hedge, trim it a little narrower at the top. Otherwise the shade will stunt the bottom growth and you’ll get a woody bottom. (That’s a great band name for a bluegrass band.) It doesn’t have to be a dramatic difference. But, you do need to to let the light through.
And that’s why you prune a healthy plant. To let in light, for airflow, to remove crossing branches and to stimulate the gowth of flowering wood.
This is peculiar. Most of our yard is melting in ways that make sense. the shady spots going more slowly than the sunny ones.
Then, there’s this.
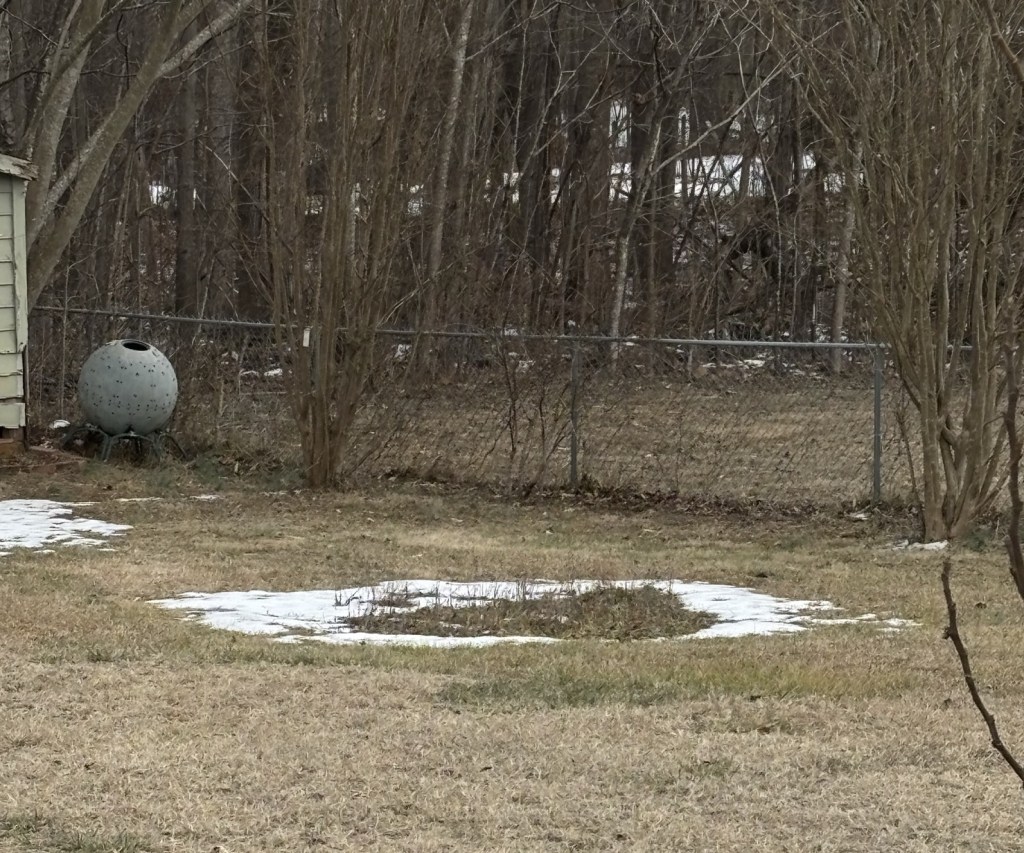
This spot got a big pile of yard trash piled up that was, eventually, burned. When nothing filled it in quickly, I sprinkled it with (bought) garden soil and wildflower seeds. We’re waiting to see what comes back from that with great anticipation.
Is it the composting effect of what grew there this summer that is causing the ring?
I’ll be asking Taylor about that next Wednesday after our Pruning class.
Addendum:
He said it probably has to do with the amendment I made to the patch when I was planting the wildflower seeds making the soil retain heat differently.
I have a friend who is doing MG training in Orange County at the same time as I am doing mine in Greensboro. We so NOT have the same curriculum OR the same expectations by our agents for follow up.
Not exactly anyway. At least as far as we can tell right now.
So.
This is what MG training is like where I am doing MY thing.
Clearly, different counties use their volunteers as seems best to them and those needs vary.
What I’m posting can give someone an idea of what to expect in a general way.
It’s very much a YMMV kind of experience.
